...
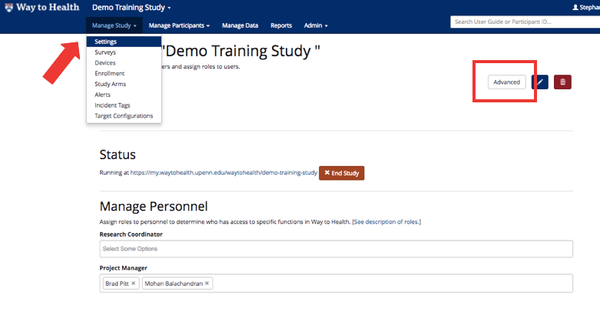
- In Manage Study, navigate to 'Settings' located in the left side bar "Manage Study" drop down navigation. Once in settings, click the blue 'Advanced' button.
 Don't see the Advanced button?? Put in a JIRA 'Help' ticket explaining that you need Project Manager credentials in order to access the Advanced Settings.
Manage Participants
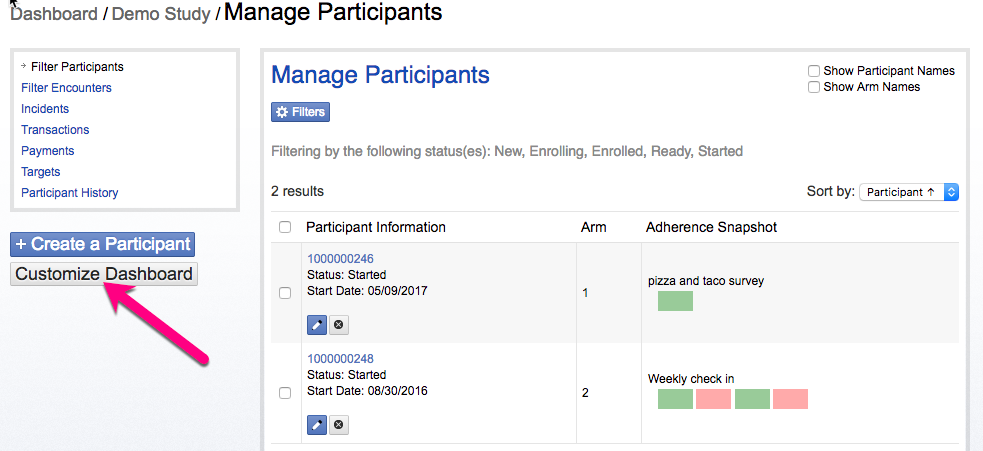
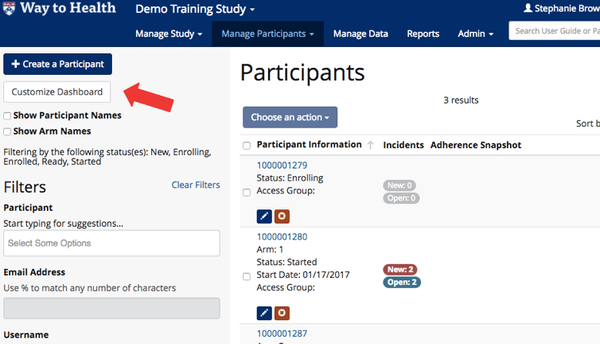
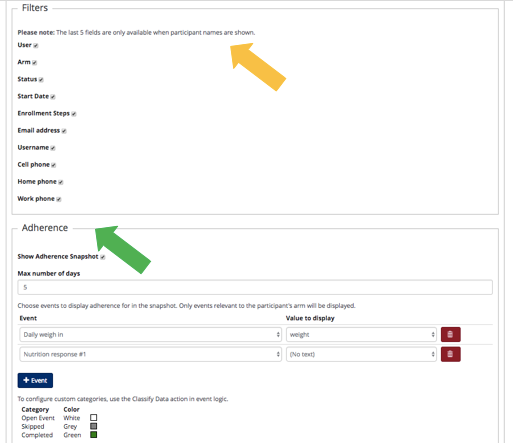
- In this section, you can customize what will display and how it will display in the Manage Participants view.
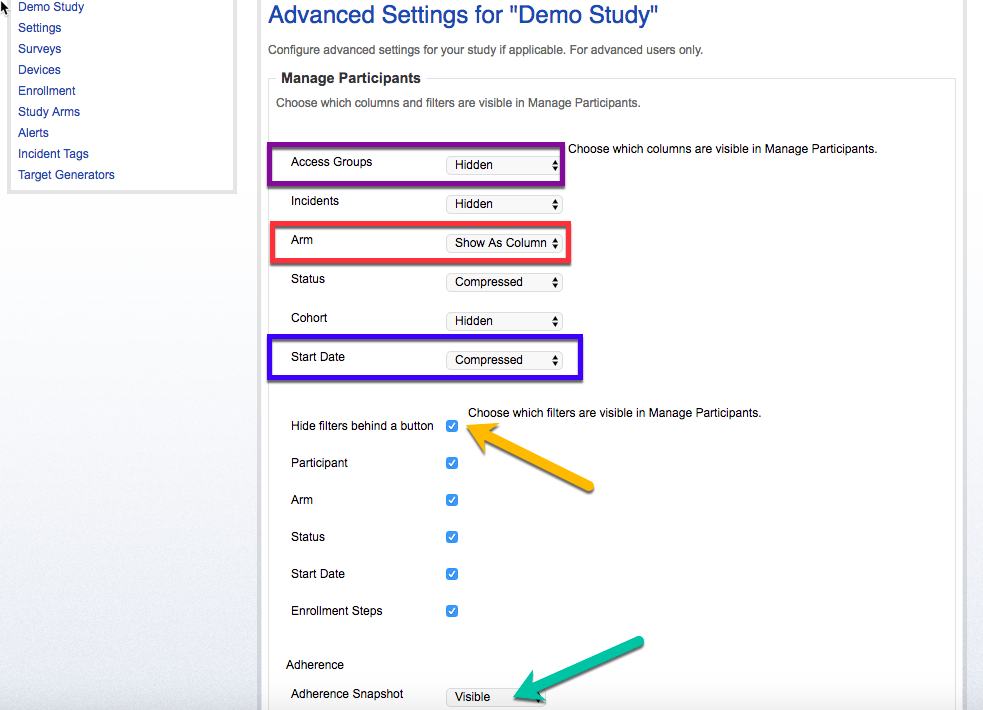
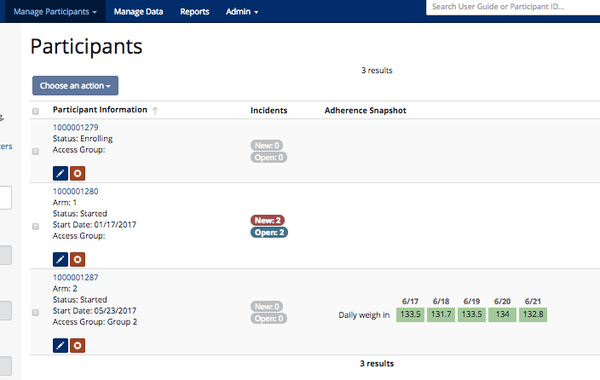
- Don't need to see Access Groups? Make it hidden.
- Want arm to be prominently displayed? Make it it's own column.
- Want to show participant status and start date? Make it compressed so that it will display under the participant's ID or name.
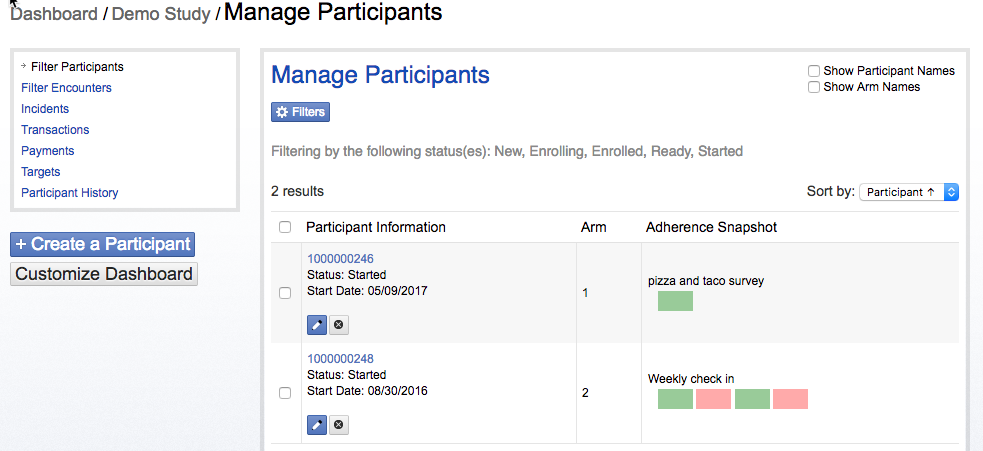
- To activate the adherence snapshot, select 'visible' on the Adherence Snapshot drop down.
 Want more info on setting up the Adherence Snapshot? See Adherence Snapshot Set Up for guidance!
- You can also hide the filters behind the 'Filters' button. This will give you a better view of your participants.
- Check out your changes! Click the 'Save' button and Navigate to Manage Participants.
- Set your default participant preferences view to either show or hide participant names every time you log in!
 Tip! This feature is particularly useful for clinical teams or providers!
 - Navigate to your profile
- Scroll down to the 'User Preferences' section.
- Default to show participant names: 'yes'
- Default to show participant IDs: 'no'
- In your profile, you can also indicate how you would like to receive study notifications.
 Tip! Typically email is preferred, but text can also be used if your project receives high priority incidents or messages.
- Want to receive text messages? Be sure that your cell phone number is entered into your profile!
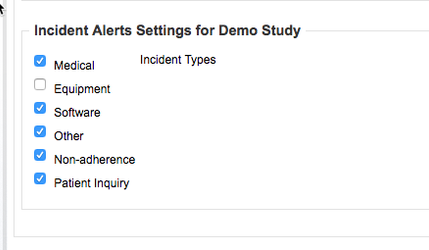
- In your profile, you can also indicate which types of incidents you want to receive.
 Tip! Does your study use a device? Uncheck the 'equipment' incident box. Otherwise you will receive notifications every time late device data comes over!
- Once you have finished updating your profile, click 'Save Profile'.
...
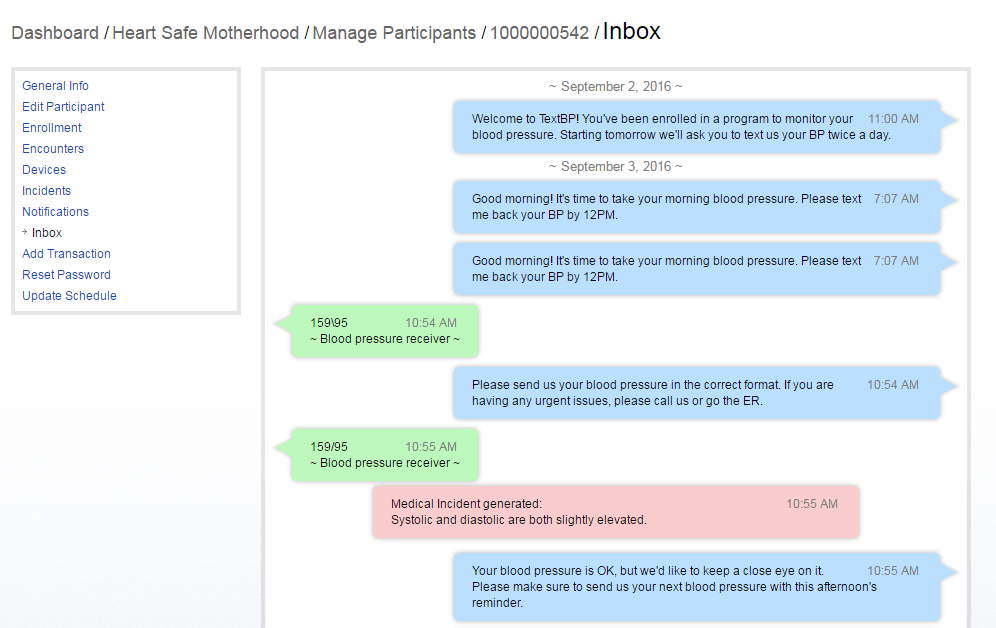
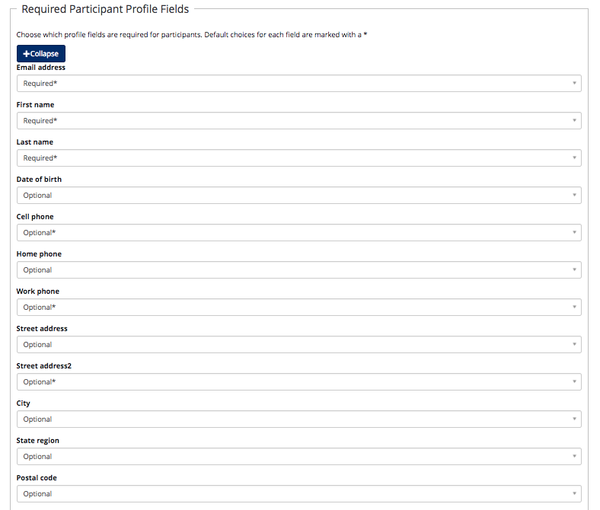
- Enrolling participants on the backend only? Select which fields are required, optional or hidden. Does your project involve bi-directional SMS conversations with participants? If so, enable the Inbox view! This will allow you to view the exchange between the participant and Way to Health quickly in the participant's profile.
Once enabled, an Inbox option will appear on the participant's profile.
Want to see an example?- Click the 'Expand' button under 'Required Participant Profile Fields'.
This feature is only available for backend enrollment. Any changes that you make will not carry over to the participant facing enrollment site!Status colour Red title Warning! - Select which fields are optional, required, or hidden.
 Tips!
Tips! - Paying participants via Way to Health? You must require Social security number and address
- Conducting a texting only study? Make cell phone number a required field.
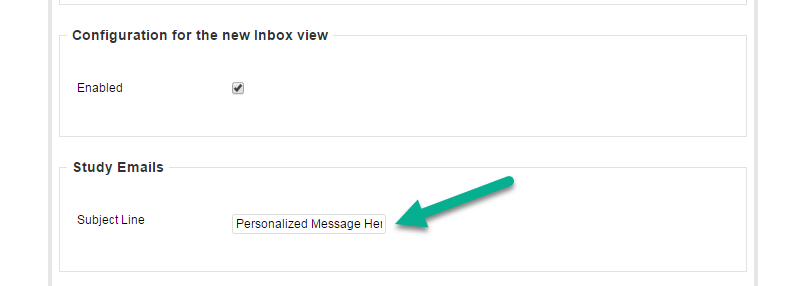
Configuration for the new Inbox view
Study Emails
- Your project has the ability to send a customized email subject line that is unique from all other projects!
- Enter the subject line for emails into the text box.
 Note: This will be the subject line for all participant communications that are sent via email.
- Want to know what this looks like in action?
...

