Once you have completed building the study, you should use the Error Checks page to check your work. With Error Checks, the system will look through your entire set-up and alert you about any potential hiccups or misconfigurations as well as inform you if there is a better way to set-up specific events and features. To use the Error Checks page after you have completed building your study:
- Go to Manage Study and you can see the Error Checks page.
- Once open, it will run through each section of your site's configuration and let you know if everything looks good or something needs to be changed/fixed/added as best practice.
 indicates that the event/step is configured properly
 indicates there may be a way to improve the configuration of steps/events or there is an event/step missing
 indicates there is a configuration issue that needs to be dealt with or the event/step will break
 informs the study staff of that event/step's configuration
- The following sections are what the Error Checks page looks through along with examples:
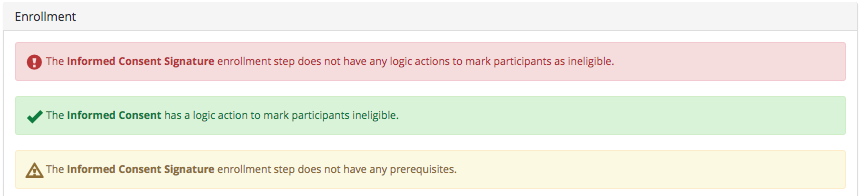
- Enrollment
- Randomization

- Variables (if they have been set-up for your study)

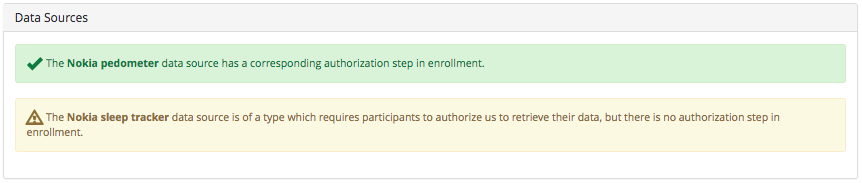
- Data Sources
- Events for Each Arm (it will not display all of the events that are configured properly, only the ones that need attention)

- Enrollment
The Error Checks page should not replace testing the study site. Please follow through testing each component of your study: