...
Surveys must be scheduled on the Schedule of Events. To get a refresher on adding and scheduling surveys check out Building Surveys followed by'Administer a Survey' Event.
Once scheduled, you can link surveys to any page within the participant dashboard.
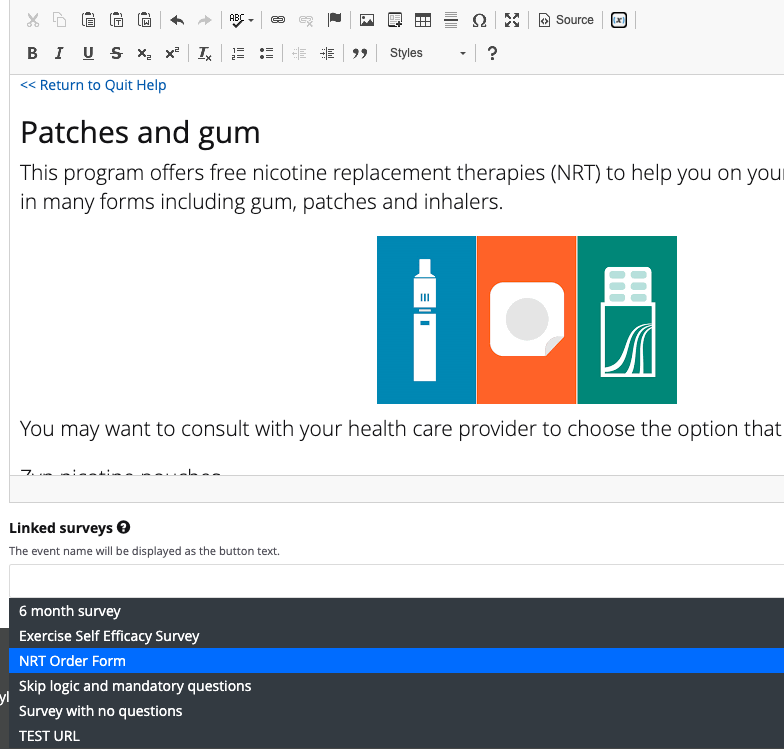
When the participant accesses that page, they will see a button at the bottom of the page where they can access and complete the survey.
...
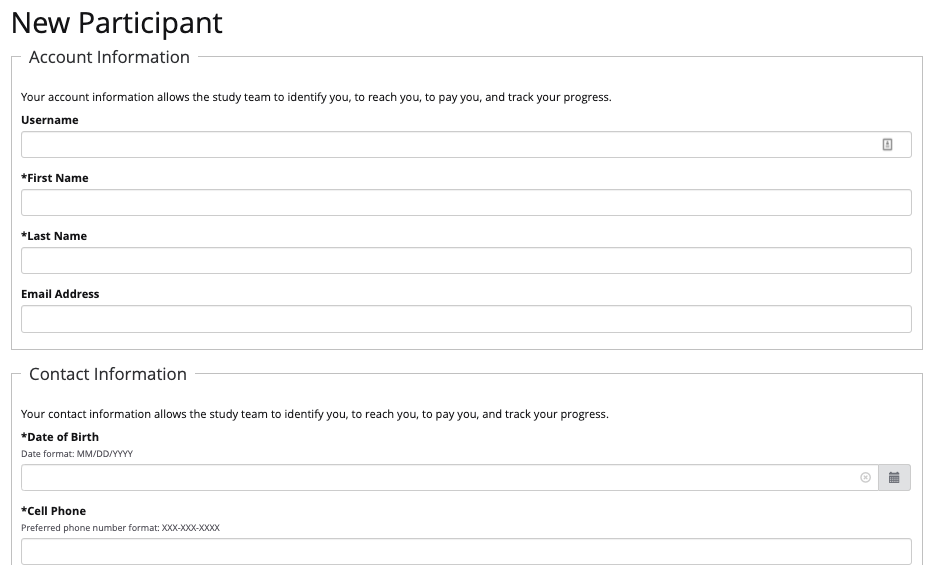
Navigate to Manage Participants > Participants and click “+Create a Participant”.

Fill in the profile form with all required fields and save. Use an email account that you can access to ensure you can create a password for the test participant.
If there are enrollment steps, you can navigate to the enrollment tab and click “Skip” button to bypass those and move the participant into a status of “Started”.
Depending on the number of arms and how randomization is configured, you may need to reset the arm assignment. You can do this from the participant record on the General Info tab.


Login as the test participant
...
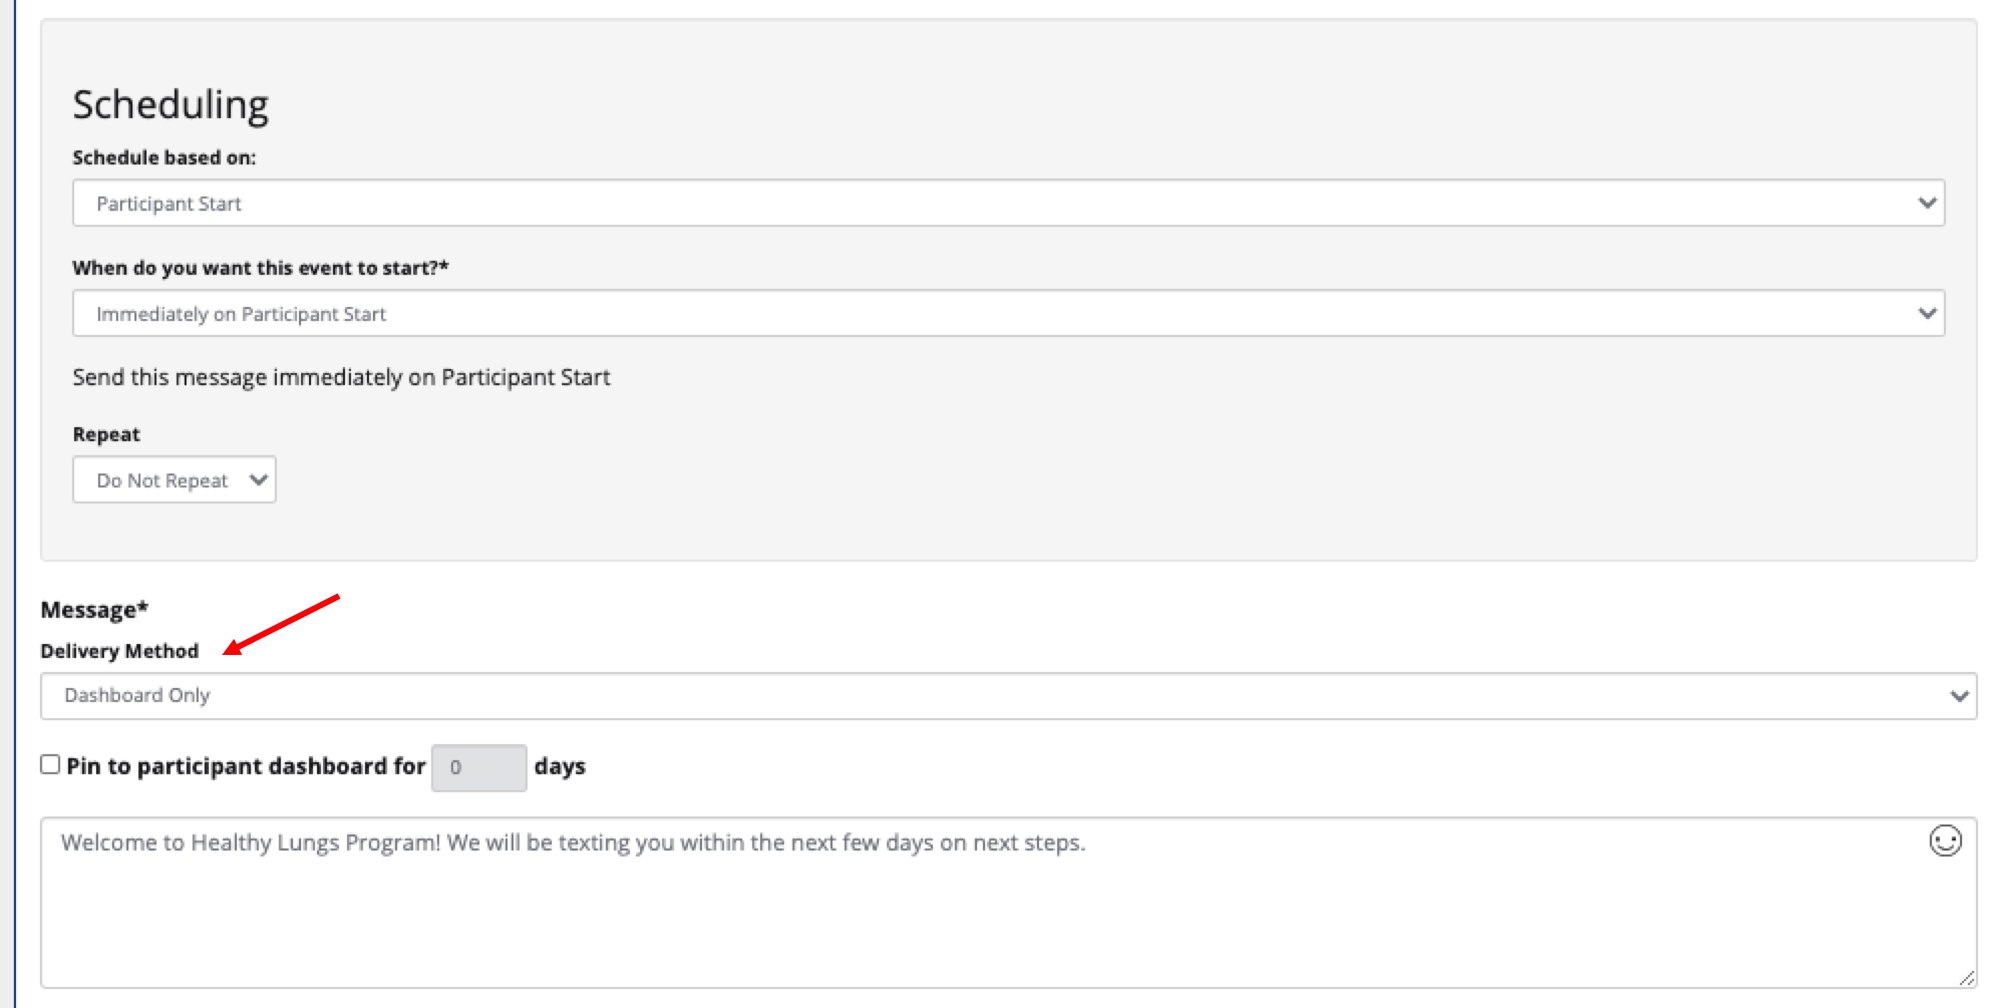
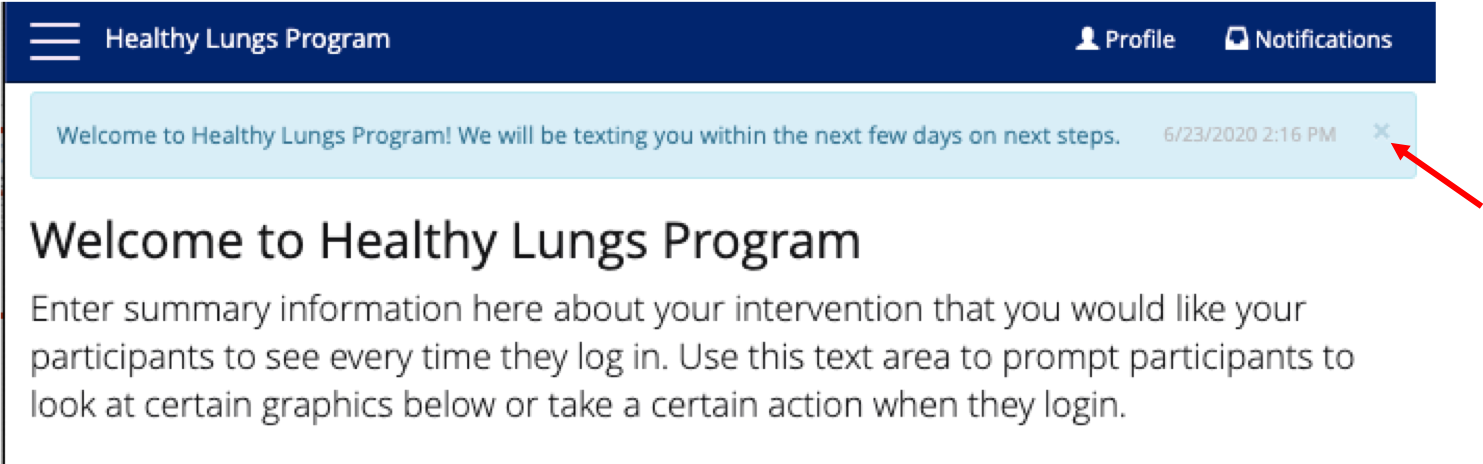
On the message you want to send to the dashboard, select “Dashboard only” in the dropdown for Delivery Method.

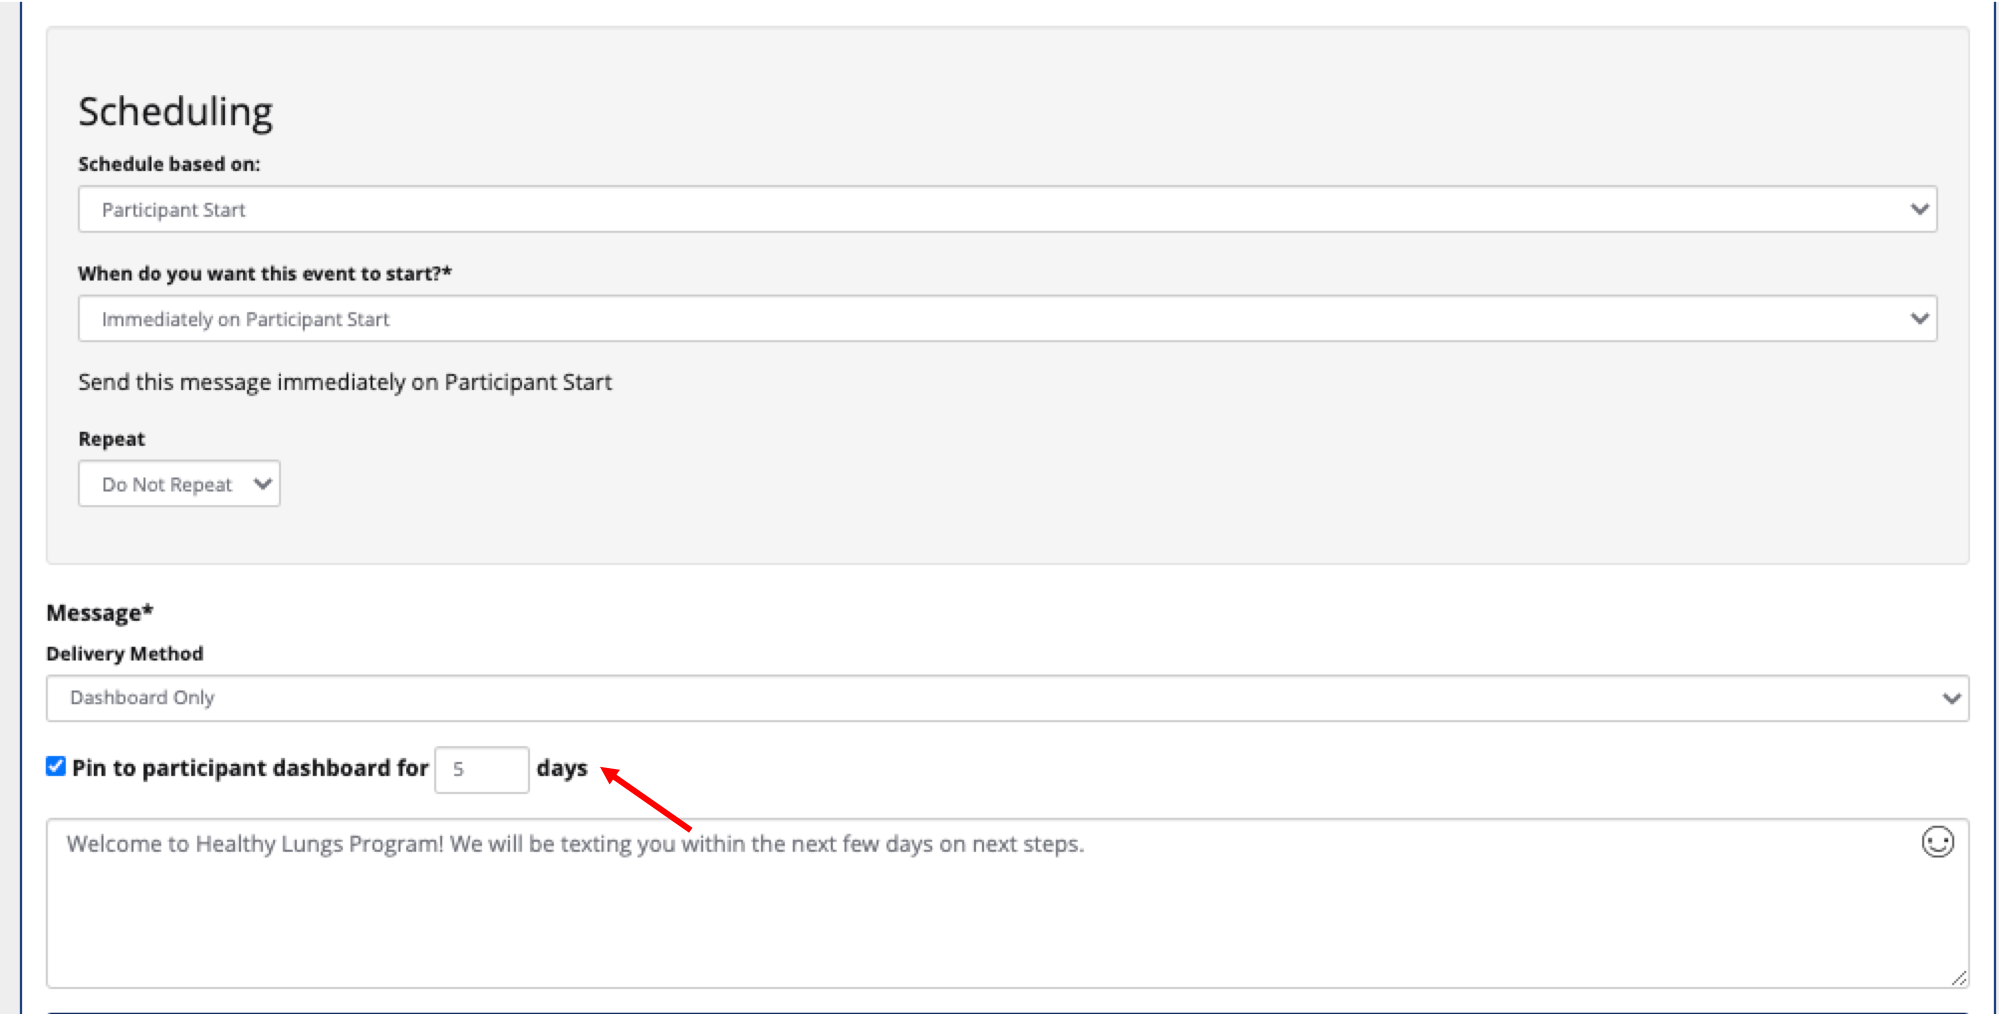
To have the notification pinned to participants' dashboard for an extended period of time, select the “Pin to participant dashboard” checkbox. Select the number of days you want the notification to be pinned.

From the participant’s view, the notification will appear as a blue banner at the top of the dashboard when they sign in. The notification includes the date and time it was sent. They can close out the notification by selecting the “x” in the far right corner.
Related articles
...