The Way to Health admin portal has the option for the additions of features that can streamline the participant management experience.
 Note: making changes will impact all users, not just your view.
- In Manage Study, navigate to 'Settings' located in the "Manage Study" drop down navigation. Once in settings, click the 'Advanced' button.
 Don't see the Advanced button?? Put in a JIRA 'Help' ticket explaining that you need Project Manager credentials in order to access the Advanced Settings.
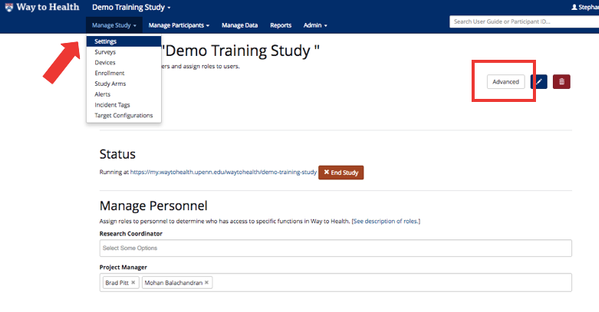
Manage Participants
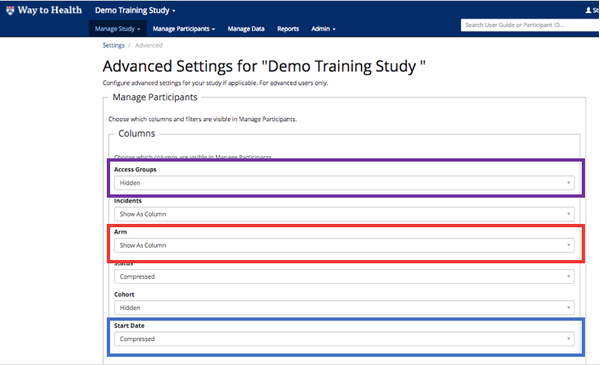
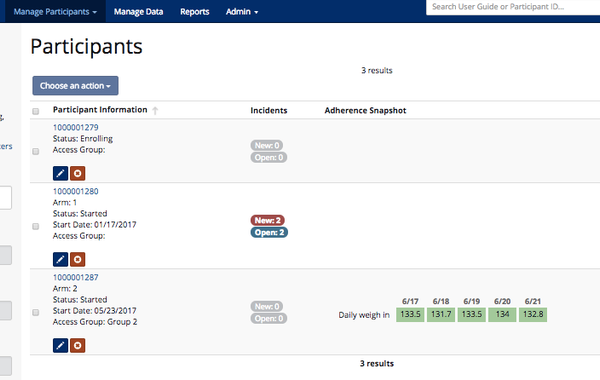
- In this section, you can customize what will display and how it will display in the Manage Participants view.
- Don't need to see Access Groups? Make it hidden.
- Want arm to be prominently displayed? Make it it's own column.
- Want to show participant status and start date? Make it compressed so that it will display under the participant's ID or name.
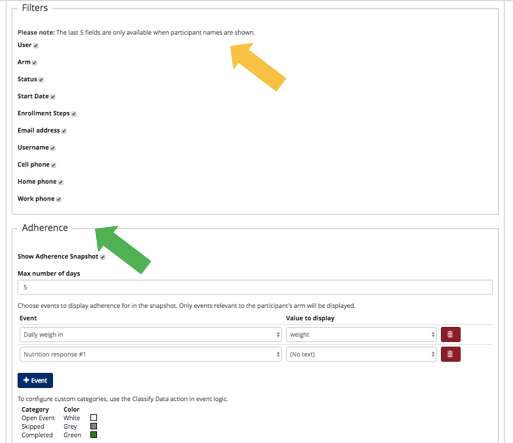
- To activate the adherence snapshot, select 'visible' on the Adherence Snapshot drop down.
 Want more info on setting up the Adherence Snapshot? See Adherence Snapshot Set Up for guidance!
- You can also hide the filters behind the 'Filters' button. This will give you a better view of your participants.
- Check out your changes! Click the 'Save' button and Navigate to Manage Participants.
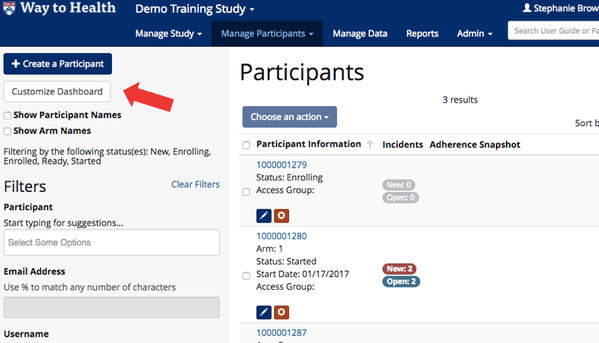
- Set your default participant preferences view to either show or hide participant names every time you log in!
- Tip! This feature is particularly useful for clinical teams or providers!
- Navigate to your profile
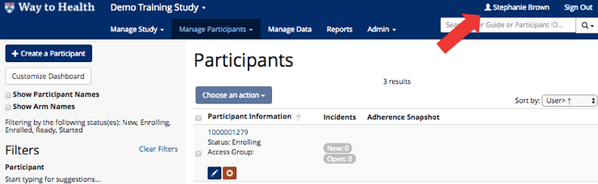
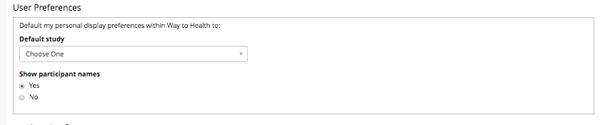
- Scroll down to the 'User Preferences' section.
- Default to show participant names: 'yes'
- Default to show participant IDs: 'no'
- In your profile, you can also indicate how you would like to receive study notifications.
- Tip! Typically email is preferred, but text can also be used if your project receives high priority incidents or messages.
- Want to receive text messages? Be sure that your cell phone number is entered into your profile!
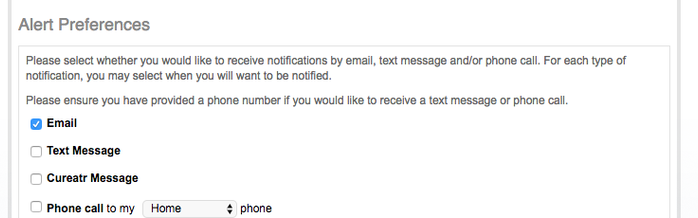
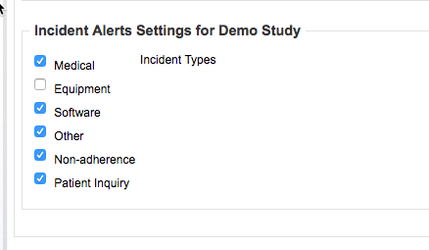
- In your profile, you can also indicate which types of incidents you want to receive.
- Tip! Does your study use a device? Uncheck the 'equipment' incident box. Otherwise you will receive notifications every time late device data comes over!
- Once you have finished updating your profile, click 'Save Profile'.
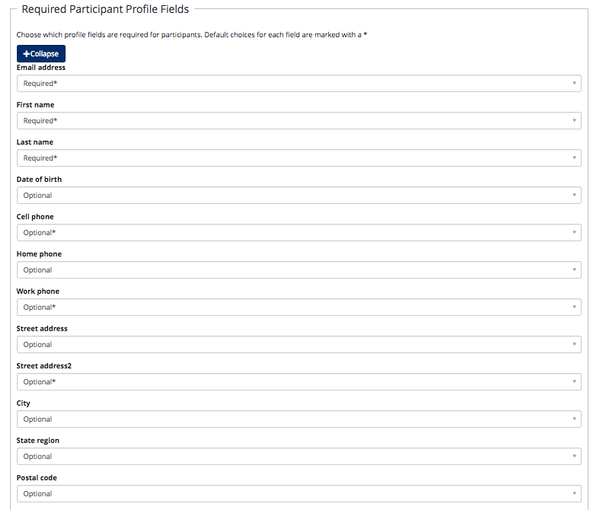
Required Participant Profile Fields
- Enrolling participants on the backend only? Select which fields are required, optional or hidden.
- Click the 'Expand' button under 'Required Participant Profile Fields'.
- WARNING! This feature is only available for backend enrollment. Any changes that you make will not carry over to the participant facing enrollment site!

- Select which fields are optional, required, or hidden.
- Tips!
- Paying participants via Way to Health? You must require Social security number and address
- Conducting a texting only study? Make cell phone number a required field.
Study Emails
- Your project has the ability to send a customized email subject line that is unique from all other projects!
- Enter the subject line for emails into the text box.
 Note: This will be the subject line for all participant communications that are sent via email.
- Want to know what this looks like in action?

Once you are done setting up the Advanced Settings, scroll to the bottom of the page and click 'Save'.