...
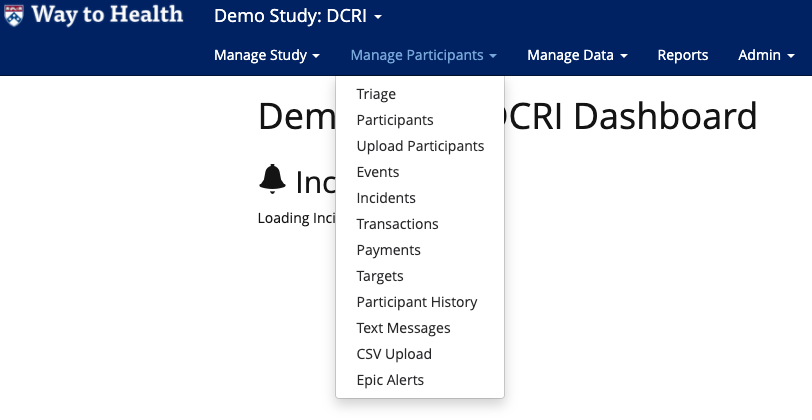
Navigate to Manage Participants > Upload Participants.
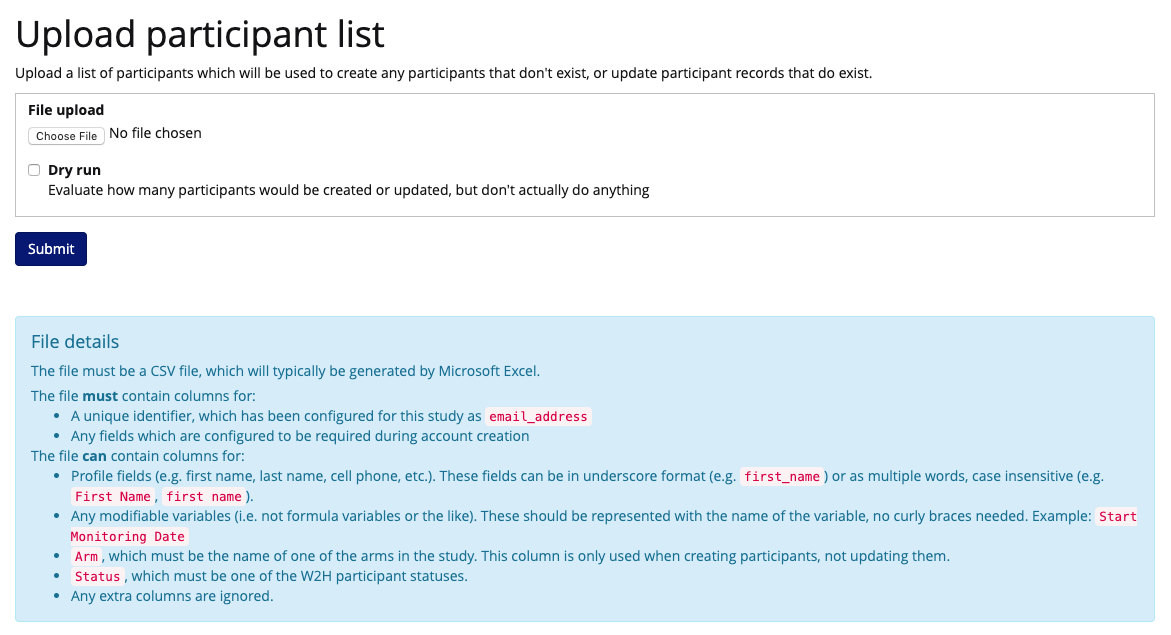
The Upload participant list screen provides instruction for acceptable file formats in the blue box.
Here is an example of an acceptable file (CSV).

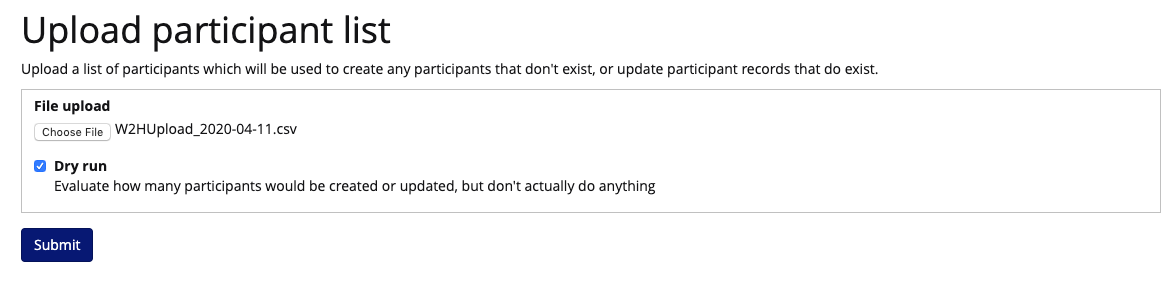
Click “Choose File” button.
Select the CSV file from your computer.
You can choose to do a Dry Run to see how many participants would be created or updated. Click “Submit”.
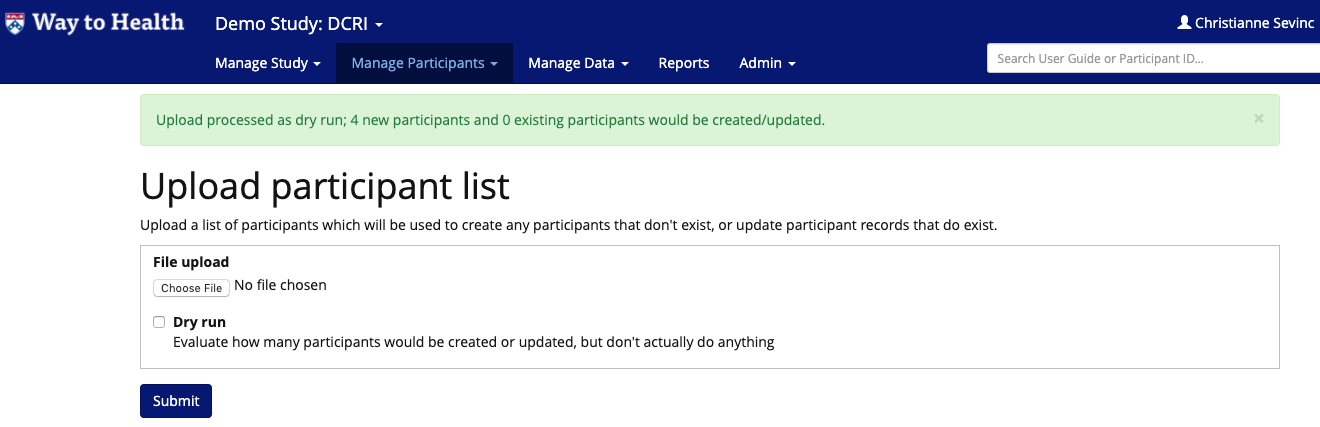
When you choose Dry Run, you’ll get a banner which validates what would happen. See example below.
If you are ready to process the file, uncheck “Dry Run” and click “Submit”. For the actual upload, you will also see a banner which validates what happened.
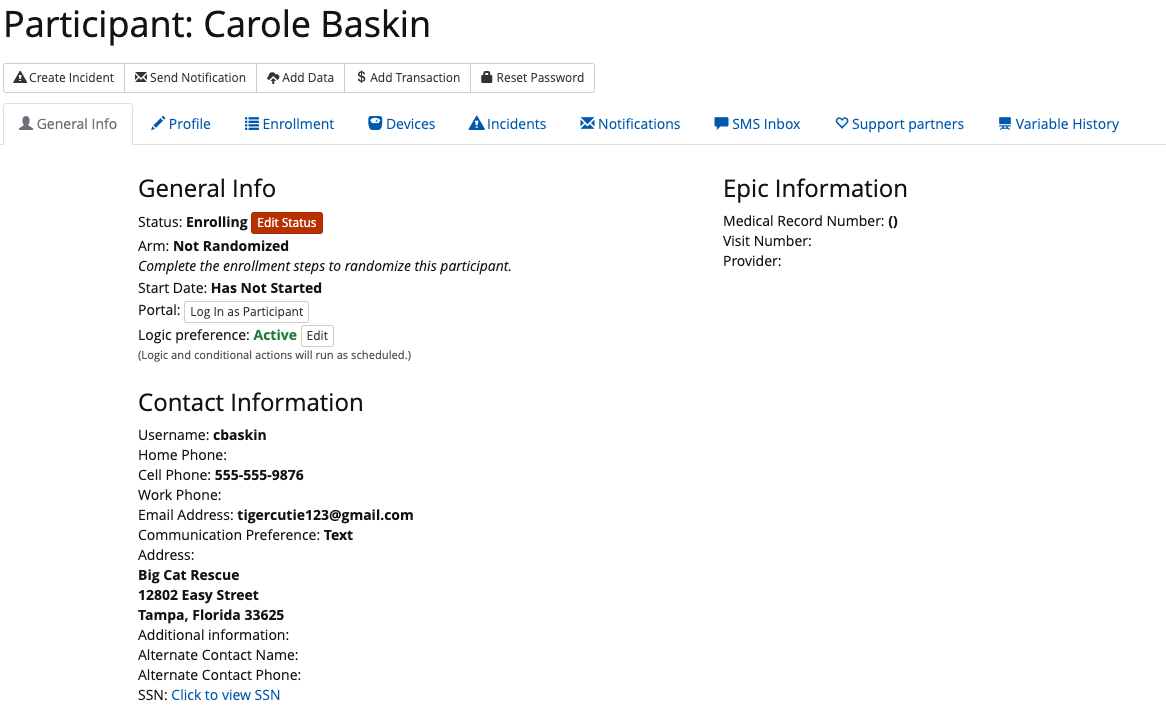
Navigate to Manage Participants > Participants to access the newly created records. Participants will be set to a status based on the configuration of your enrollment flow. In the example below, all participants uploaded have been set to a status of “Enrolling” because they have not completed all enrollment steps.
You can review profile fields from the General Info tab and variable values in the Variable History tab to validate data has been updated.

| Info |
|---|
If participant MRN is being used in CSV upload, update the column format to be category: custom and type: 000000000 (with the # of 0s corresponding to the length of all the MRNs) to prevent excel from stripping the leading 0s from patient MRNs prior to upload. |
REQUIREMENTS:
Your participant upload file must have a unique username for each person, you can create this in the excel document by using something like “study_name1, Study_name2, etc)
An email can be used in place of a username but it is required that the email has not been used for any other Way to Health participant, even outside of your specific study. It will likely be the safest option to create unique usernames.
...