How to Build the Enrollment Process
New enrollment features were released on February 27, 2019 which provides flexibility and a smoother interface.
For clinical projects and studies that launched prior to this date, talk to your implementation lead about switching to the new enrollment flow. If you are using the Qualtrics integration, you must first transition surveys administered in enrollment to our Survey Builder.
If you are using our old enrollment process, please refer back to our page in the User Guide on our Old Enrollment Process.
Getting Started
You have the ability to customize many aspects of the participant's enrollment experience. From the Manage Study menu, select Enrollment. There are two tabs for setting up the enrollment process:
- Configure Steps
- Settings
Each section has some predefined content to help get you started.
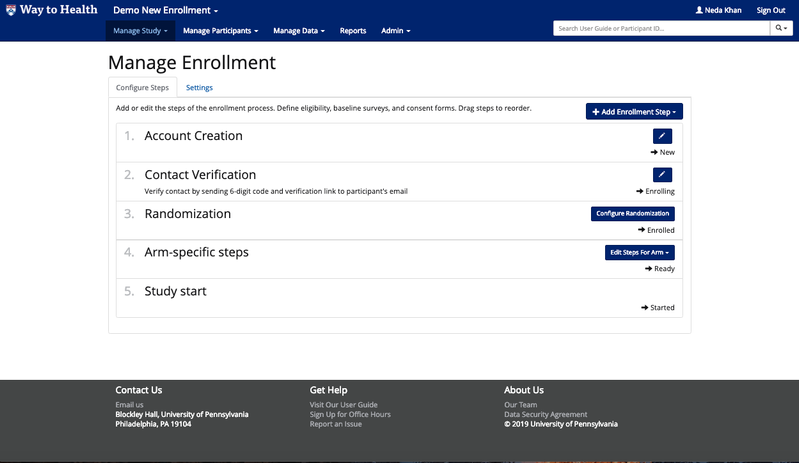
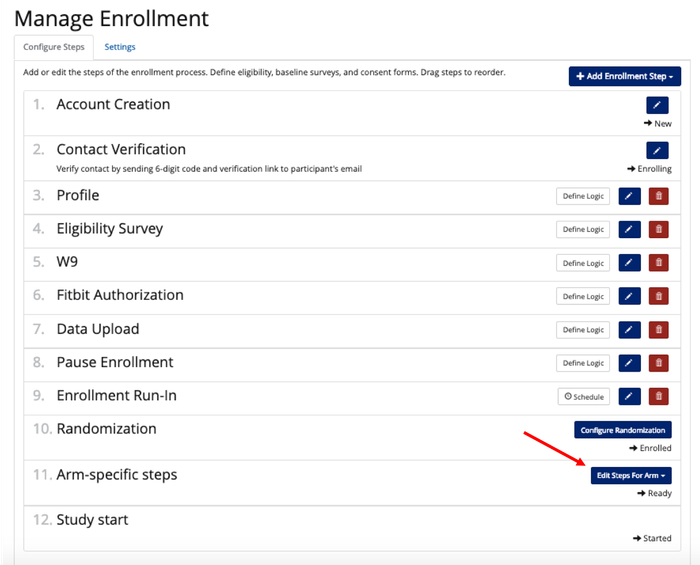
Configure Steps
Configure Steps is where you can add and edit any enrollment steps.
Standard Steps
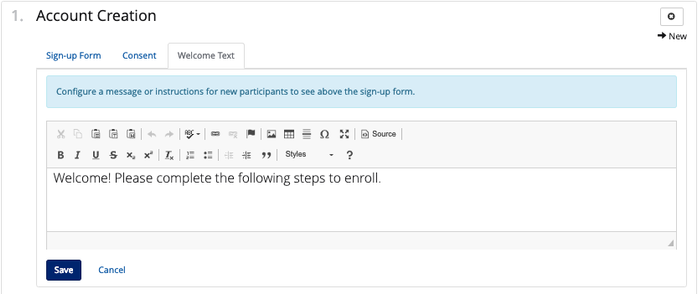
Account Creation
The first step in the enrollment process is account creation. This is the participant's first interaction with the platform. Here you can define what fields are mandatory and display on the sign-up form, administer informed consent, and you can add in welcome text after the account has been created. Once the account has been created, the participant will have a status of new.
Note: If you are creating participants directly through the administrative portal, you will bypass Sign-up form entirely and do not need to configure it.
- Sign-up Form: In this tab, you can configure what fields you want to be required, optional, or hidden when the participant is creating their account. First name, Last name, and Password are required. Email address is required by default, but you can exchange this with Username if preferred. Either email address or username in combination with password will allow the user to log back in to their account to continue enrollment if signed out. You can also add additional profile fields such as address and phone numbers if desired. If you'd prefer to collect this information later, you can do so during the Profile Step. You can also allow participants to configure their notification preferences and set which method they can select to receive notifications.
 Tip! Keep account creation simple and reduce the number of fields required. You can request more information during the Profile Step.
- Tip! Remember to first set your study's default notification preferences in Manage Study --> Settings --> Advanced Settings --> Participant Notification Defaults.

- Consent: If you want to administer an informed consent through W2H, you can create a survey for your informed consent through our Survey Builder. When building your informed consent, you do not need to include a question about participation. There is a hard-coded "I agree" button at the bottom of the form when administered this way.
Once you have built your informed consent survey, in the Consent tab you can select the survey from the dropdown and set if you would like it to be administered before or after the participant creates their account.- Note: You may prefer to administer informed consent at a different time during the enrollment process. If this is the case, do not configure anything during the Account Creation step. You can schedule a Survey Enrollment Step at any point during enrollment. Please note that the "I agree" button is only available in the Account Creation Step, so you can simple build a question into the survey itself when administering that way.

- Welcome Text: You can configure a Welcome message to the participant once they have created a W2H account. We have a default Welcome message that you can keep or change based on your study.
Contact Verification
After the participant creates their account, they will be asked to verify contact information. Once this step is complete, the participant's status will change to enrolling.
- Note: If you are creating participants directly through the administrative portal, you will bypass Contact Verification entirely and do not need to configure it.
You can choose how you want the participant to verify their account. The participant can verify by either email address or cell phone. You can select how they will verify:
- (Preferred) Sending them a 6-digit code and a link; or
- Confirming their contact information is correct by display only.
Verifying on screen, or soft verification, is only recommended for onsite enrollment. Without full verification, a participant may accidentally enter an incorrect email or mobile number.
Note*: if you or your participants ever accidentally entered the wrong cell phone number or email during enrollment, you have the chance to update your contact information during the verification step.
Randomization
Randomization is the last step in the enrollment process. All subsequent enrollment steps will be arm-specific. Once this step is complete, the participant status will change to enrolled. If this is the last step in the enrollment process and the study is configured to "auto start", the participant will start the study automatically and will have a status of started. If the study is configured to "manual start" or "scheduled start" the participant will have a status of ready.
- Find more on study start methods and options here: Starting Your Participants
- Find out more on randomization schemes here: Randomization
Arm-Specific Steps
Arm-specific enrollment steps can be created using this feature. For example, if you plan to give devices to participants in the intervention arm only, you would create an arm-specific device step using this feature. Once all arm specific steps have been completed, the participant will have a status of ready. As mentioned above, if the study is configured to "auto start", the participant will start the study automatically and will have a status of started. If the study is configured to "manual start" the participant will have a status of ready until they have been started manually.
Custom Enrollment Steps
Use "+Add Enrollment Step" button at the top of the screen to add enrollment steps. The new step will be added just above the Randomization step. You can re-order steps by dragging and dropping them to the new location within the enrollment flow.

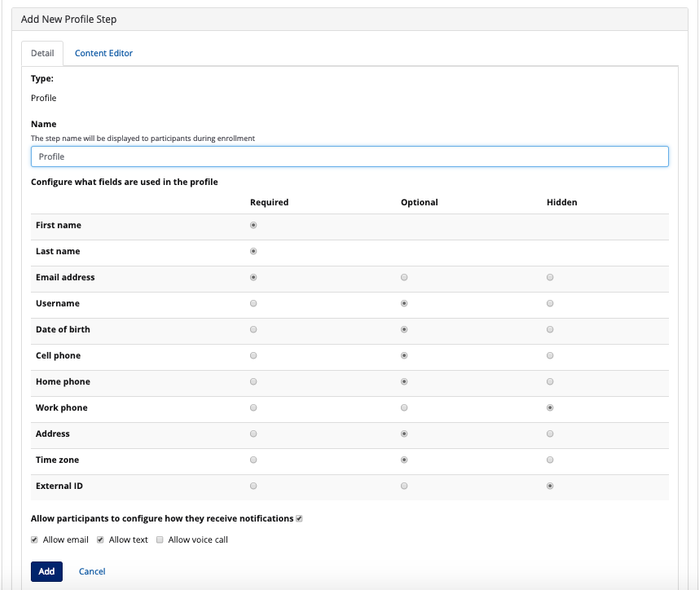
Profile
Use this step if you want to collect additional profile information that you did not collect during Account Creation.
- Detail: Under this tab, you can select which fields you would like to be required, hidden, or optional. Available fields include: First name, Last name, Email address, Username, Date of birth, Cell phone, Home phone, Work phone, Time zone, External ID,and Notification preferences. We have defaults set when you go to add the Profile step but you can change these to meet your study's needs.
- Tip! Remember to first set your study's default notification preferences in Manage Study --> Settings --> Advanced Settings --> Required Participant Profile Fields.
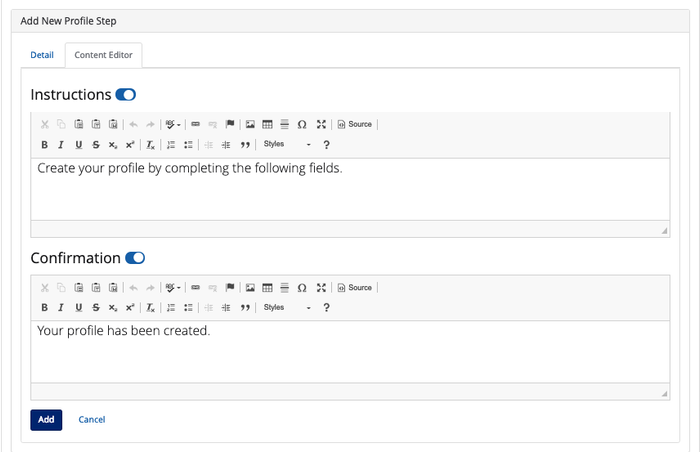
- Content Editor: Under this tab, you can configure the instructional and confirmation text for the Profile step. We have default text set up with the Profile step that you can change. You can also choose to not have instructional or confirmation text for that step by turning the toggle to the "off" position.
Survey
Use this step to add a survey to the enrollment process. To learn more about how to create surveys in Way to Health, follow this link to our Survey Builder.
- Use cases for the Add a Survey Step - Want more guidance? See detailed steps below!
- Screening Surveys
- Staff-Only Surveys
- Demographics not collected in Profile Step
- Informed Consent (if not administered via Account Creation)
- Arm Selection Survey (if not using randomization; this is used heavily by clinical projects)
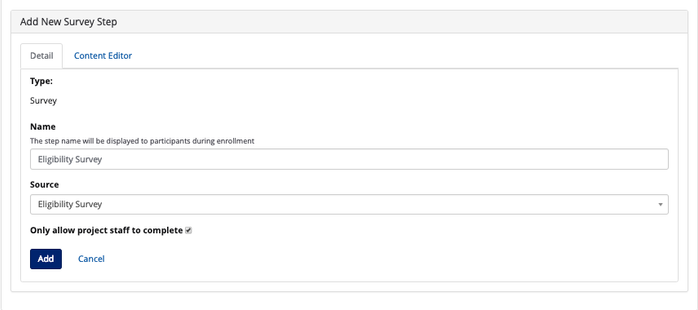
- Detail: Under this tab, you can select the survey you want to administer in the Source dropdown field. If you are administering any staff-only surveys, you can select the checkbox for "Only allow project staff to complete".
- Content Editor: Under this tab, you can configure the instructional and confirmation text for the Survey step. We have default text set up with the Survey step that you can change. You can also choose to not have instructional or confirmation text for that step by turning the toggle to the "off" position.
- Note: If you are administering a staff-only survey, you must include instructional text and you cannot turn the toggle to the "off" position. Staff-only surveys will not display in the participant enrollment flow, only the instructional content.

W-9
Use this step to collect a participant's Social Security Number (SSN) and their electronic signature. If you are planning on paying participants, University of Pennsylvania mandates that each participant complete a W9. You can do this through W2H.
- Note: Here is a link to University of Pennsylvania's financial policy on Payment of Human Subject Fees to learn more about collecting W9 forms.
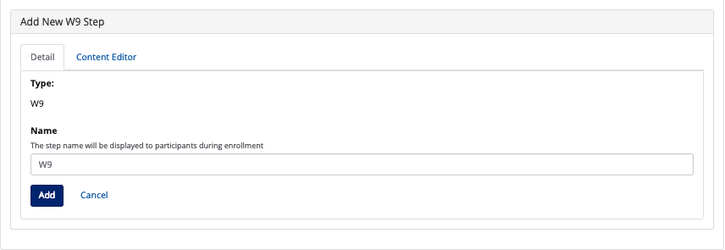
- Detail: under this tab, you can enter in the name you would like for the step.
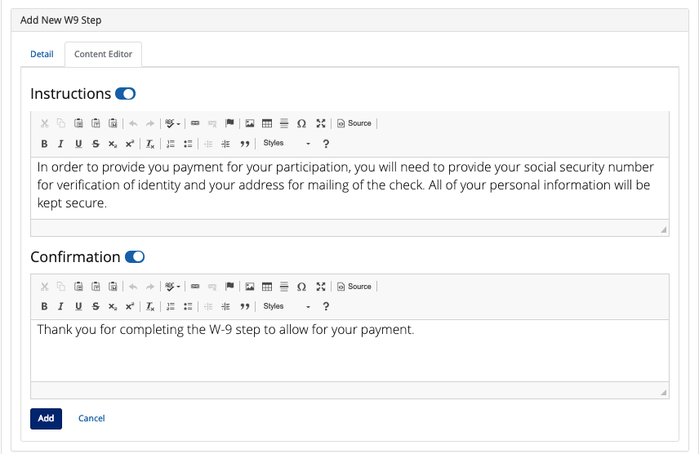
- Content Editor: Under this tab, you can configure the instructional and confirmation text for the W9 step. We have default text set up with the W9 step that you can change. You can also choose to not have instructional or confirmation text for that step by turning the toggle to the "off" position.
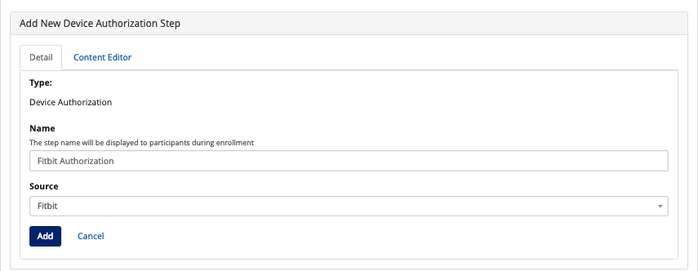
Device Authorization
Use this step if your study is using a connected device that is integrated with W2H. It will take the participant directly to the device website to create an account and authorize W2H to collect data. For many devices, like scales, pedometers, BP cuffs, the participant must give W2H permission to collect their data. While devices like electronic pill bottles, toothbrushes, and smart water bottles are authorized via a code or unique identifier entered by the study team in each participant's profile.
- Note: You will need a device authorization step if your study is using one of the following devices - Fitbit, Misfit, iHealth, or Withings.
- Detail: Under this tab, you can name the step and select the device from the list of configured devices under the Source field. See on Devices and Data Sources on how to configure devices on Way to Health.
- Tip! Collecting multiple data points from the same device (e.g. Steps and Sleep from Fitbit)? The participant only needs to authorize once!
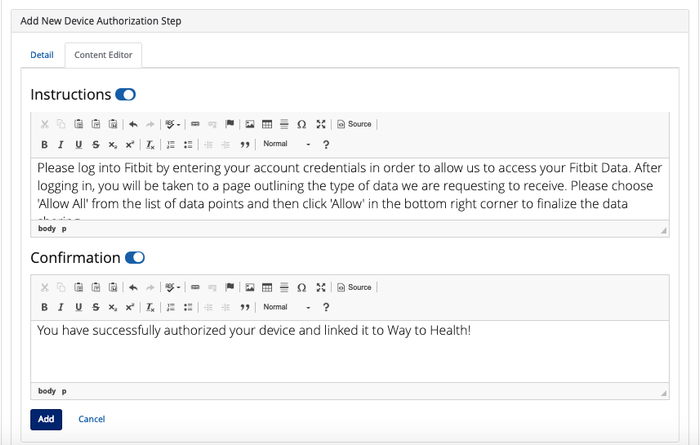
- Content Editor: Under this tab, you can configure the instructional and confirmation text for the Device Authorization step. We have default text set up with the Device Authorization step that you can change. You can also choose to not have instructional or confirmation text for that step by turning the toggle to the "off" position.
- Note: The default instructional text is specific to the device you select from the Source field.
- Note: You can also attach images and videos in the rich text editor for every enrollment step!
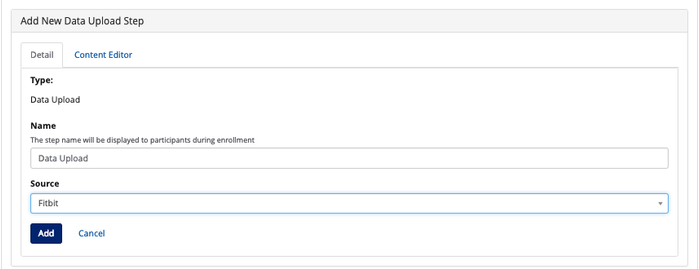
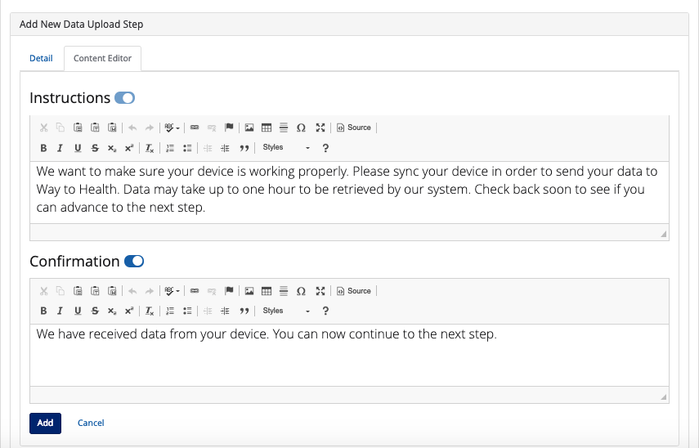
Data Upload
Use this step to add a device upload step in the enrollment process. For example, if you are collecting weight data and want to verify the weight during the enrollment process, you would add a device upload step to collect weight data from the scale being used in the study.
- Note: Data Upload steps should always occur after Device Authorization steps.
- Detail: Under this tab, you can select the device from the list of configured devices you want to upload data from in the Source field. See on Devices and Data Sources on how to configure devices on Way to Health.
- Content Editor: Under this tab, you can configure the instructional and confirmation text for the Data Upload step. We have default text set up with the Data Upload step that you can change. For this step, you must have instructional text, however, you can also choose to not confirmation text for by turning the toggle to the "off" position.
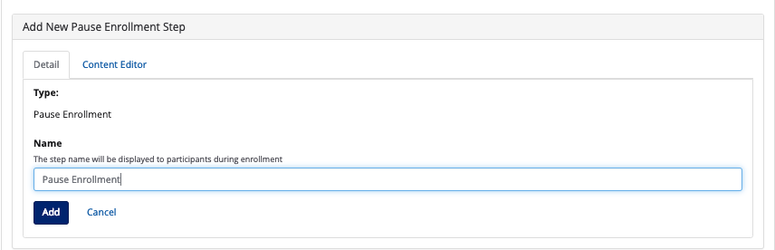
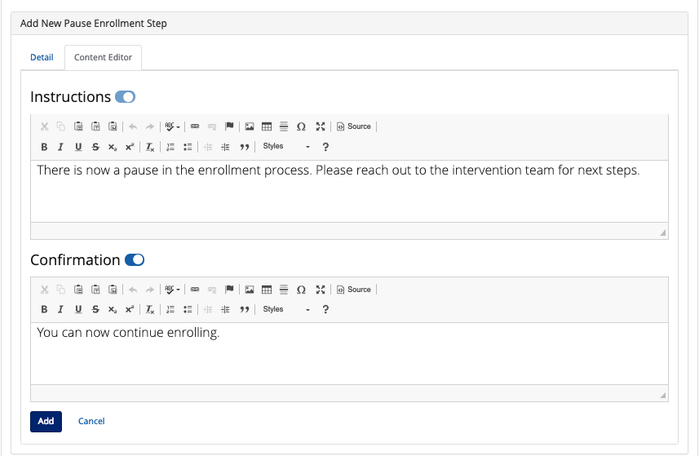
Pause Enrollment
Use this step to pause enrollment for study participants. The study staff will be required to complete the step through the administrative portal to allow the participant to continue with enrollment.
- Use cases:
- Keep participants in a holding place while you verify eligibility
- Hold participants until they come in for a study visit
- Prevent participants from authorizing a personal device prior to receiving the study device (see screenshot below)
- Detail: Under this tab, you can select the name for this step.
- Content Editor: Under this tab, you can configure the instructional and confirmation text for the Pause Enrollment step. We have default text set up with the Pause Enrollment step that you can change. For this step, you must have instructional text, however, you can also choose to not confirmation text for by turning the toggle to the "off" position.
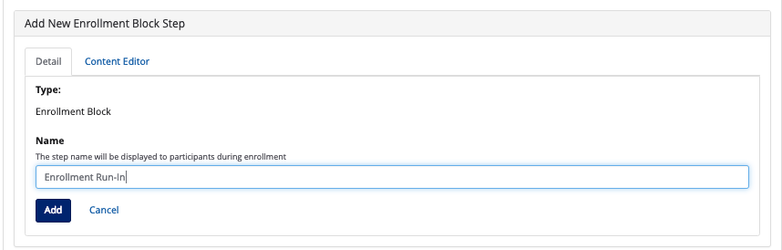
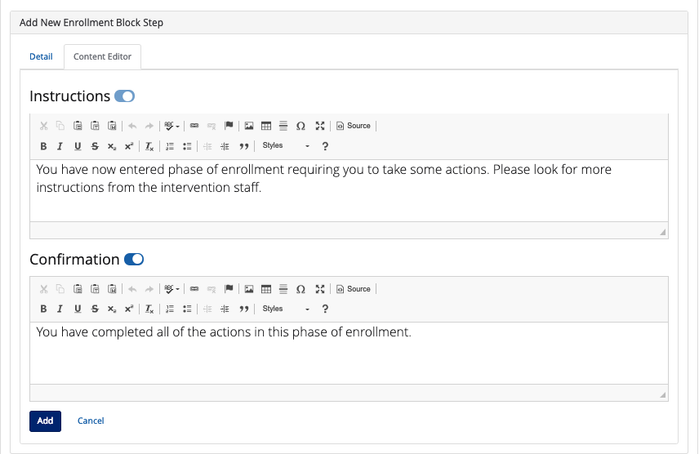
Enrollment Block
Use this step to administer events. They are essentially mini-arm schedules built into enrollment. You can administer surveys, collect device data, send messages, etc.
- Tip! Need more help building out your enrollment block? See the different event types here: Events by Type.
- The most common use case of an Enrollment Block is Run-In Period where you collect Fitbit step data from a participant for 2 weeks to collect baseline data prior to study start.
- Detail: Under this tab, you can select the name for this step.
- Content Editor: Under this tab, you can configure the instructional and confirmation text for the Enrollment Block step. We have default text set up with the Enrollment Block step that you can change. For this step, you must have instructional text, however, you can also choose to not confirmation text for by turning the toggle to the "off" position.
Arm-Specific Enrollment Steps
If your study wants to administer any of the enrollment steps after randomization, but before study start, you can use arm-specific enrollment steps. There are two additional steps that you can administer that are arm-specific enrollment steps: Lottery Number Selection and Partner Linkage.
- Note: Lottery Number Selection step will only appear as an option if you configure the study arm to use lotteries.
The most common use case for arm-specific enrollment steps are:
- Authorizing and setting up devices for the intervention arms, but not the control arm
- Allowing participants to select their own lottery number
- Adding a pause to enrollment to link support partners
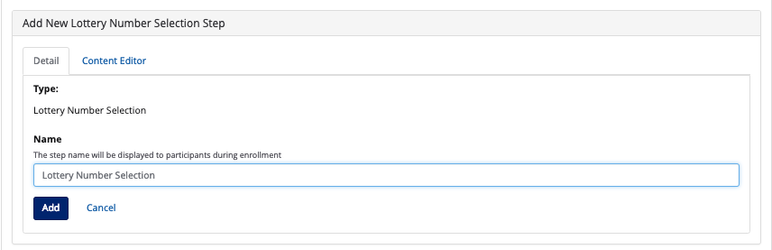
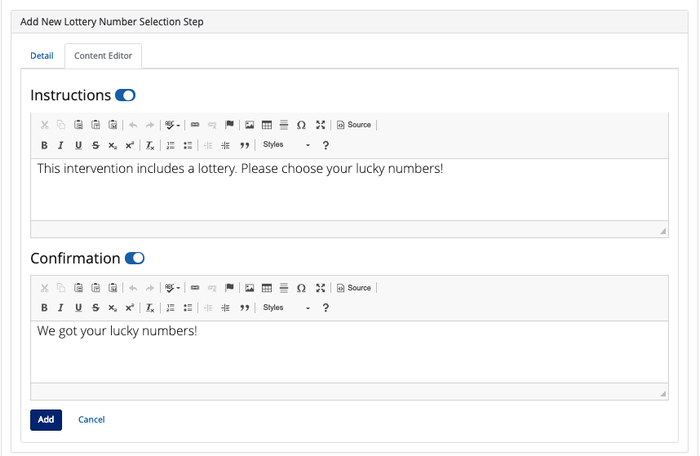
Lottery Number Selection
Use this step if your study is using lotteries. Add this step to any arms where lotteries will be used. Participants will be able to select their lottery number for the duration of the study.
- Detail: Under this tab, you can select the name for this step.
- Content Editor: Under this tab, you can configure the instructional and confirmation text for the Lottery Number Selection step. We have default text set up with the Lottery Number Selection step that you can change. You can also choose to not have instructional or confirmation text for that step by turning the toggle to the "off" position.
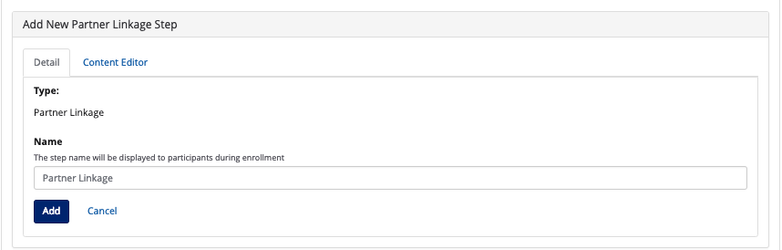
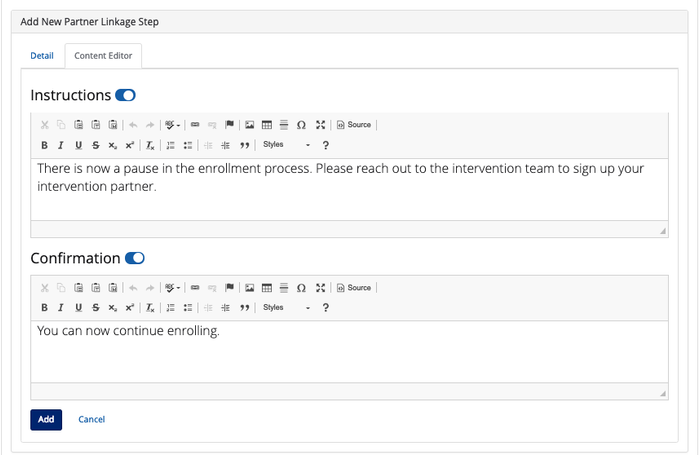
Partner Linkage
Use this step to create a pause during enrollment so you can link support partners to the participant on the administrative portal.
- Detail: Under this tab, you can select the name for this step.
- Content Editor: Under this tab, you can configure the instructional and confirmation text for the Partner Linkage step. We have default text set up with the Partner Linkage step that you can change. You can also choose to not have instructional or confirmation text for that step by turning the toggle to the "off" position.
Settings
Once you have configured the steps to your enrollment process, you will need to configure the enrollment portal display text when a participant reaches different statuses while they are enrolling.
- Tip! If you need more information on participant statuses, check out our page in the user guide that goes over Participant Statuses.
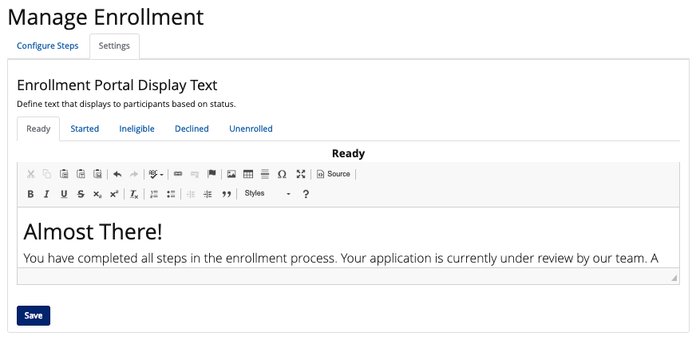
We have default enrollment portal display text for different statuses but you can change it to be specific to your study.
Enrolling Participants
Once you have finished configuring the enrollment portal display text and the enrollment steps, you are ready to start enrolling.
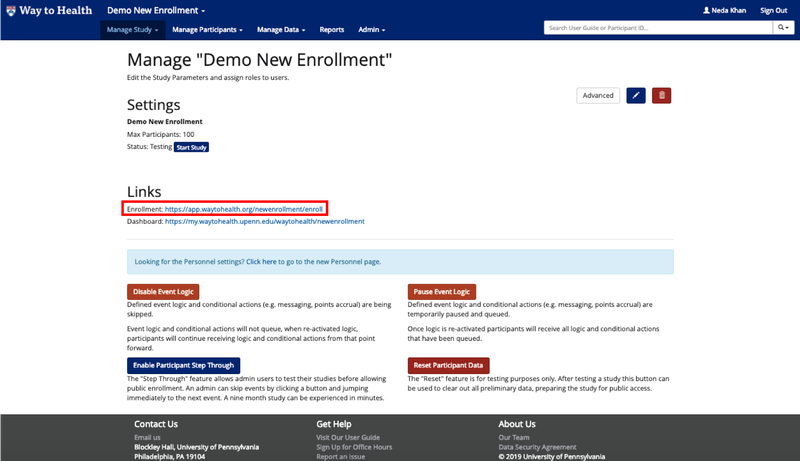
To start enrolling participants, your study will have a separate URL for the enrollment portal. To find your study's enrollment URL, go to Manage Study --> Settings and there will be an Enrollment Link that you can use for enrolling participants.
- Note: You will not be able to access the link if you are logged into the admin portal. You will either need to log out of the admin portal or use an Incognito window to access the enrollment portal.