Rescheduling Participant Events
 Want to tailor an arm event to meet the unique needs of your participants? The per participant scheduling feature allows you to customize the day, time, or repeats of an event for each participant!
Examples of use cases
- Study-level medication reminder is set for 9 am, but your participant take their medication at 8 am --> set reminders to go at 8 am
- End of study survey is set to be open for 1 week, but the participant will be on vacation during that week --> widen the window or move the survey start date
- Participant wants to remain in the study, but no longer wants to receive daily texts asking for their mood --> stop the mood text events immediately, or for a specified date in the future
How do I modify a participant's event schedule?
- Navigate to the participant's profile and select Events
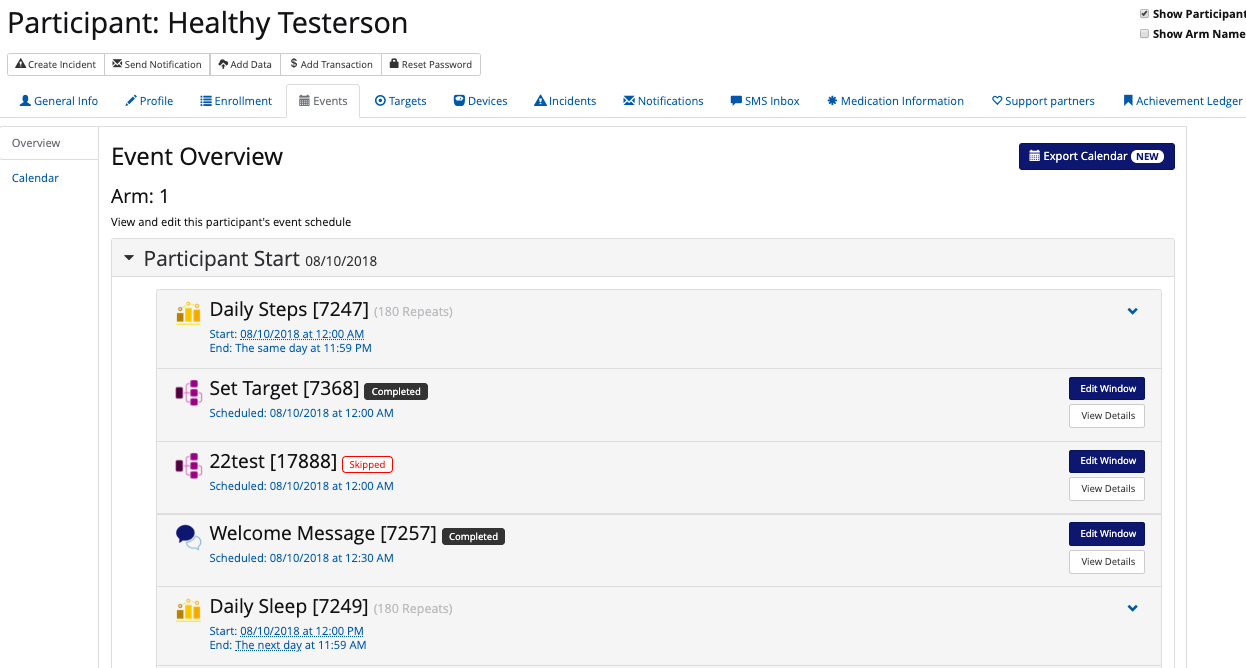
- Find the event that you want to reschedule.
- Tip!
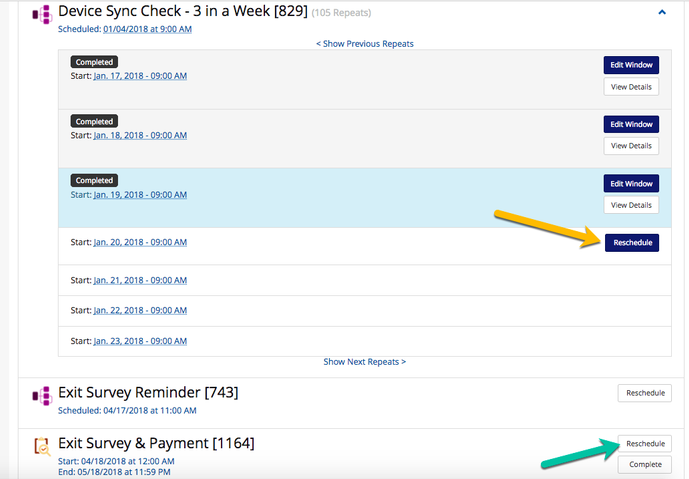
- Repeating events: click the blue downward arrow --> reschedule button
- Non-repeating events: just click reschedule button
- Tip!
- To reschedule or stop the event, click the Edit button.
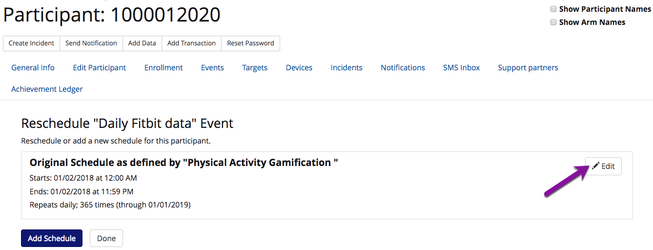
- From here, you have two options
- Reschedule the event
- Change the window event- start or end date
- Change the time of the event
- Change the number of times that the event repeats
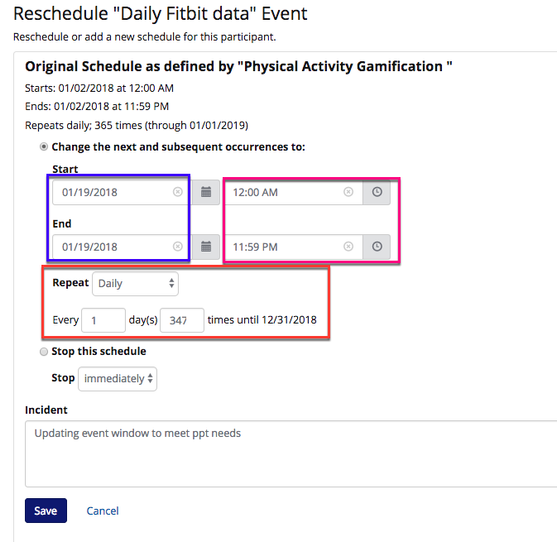
- Stop the event
- Immediately

- Scheduled for a future date
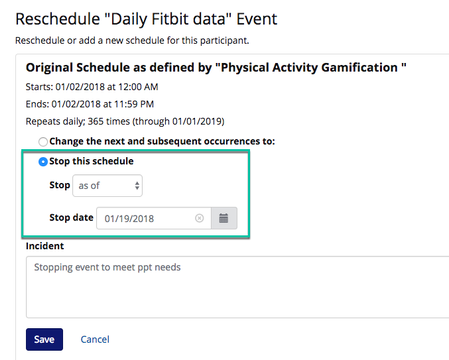
- Immediately
- Reschedule the event
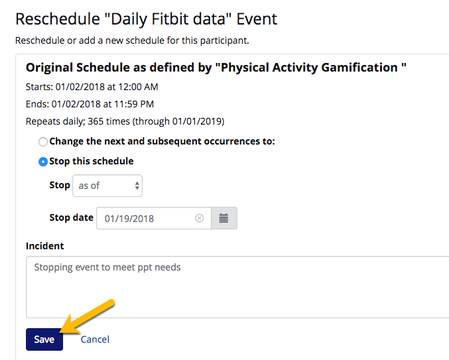
- Add an incident, or the reason for why you are modifying the schedule, and click the save button.
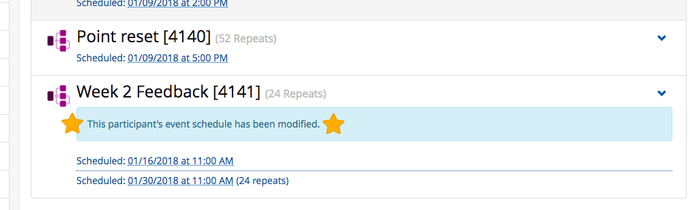
- You will now see that the schedule has been modified per the blue banner, indicating that the schedule has been modified and differs from that of the arm.
How do I duplicate an event?
- With this feature, you can also duplicate or 'copy' the event on a per participant basis.
- When would you use this?
- Medication reminders
- Arm level reminder is 1x/day at 9 am
- Participant wants 2x medication reminders per day at 9 am for morning medications, but also at 12 pm for their afternoon medications
- Medication reminders
- Repeat steps 1-2 above.
- Click Add Schedule.

- Create the new schedule, add an incident, and click Save.
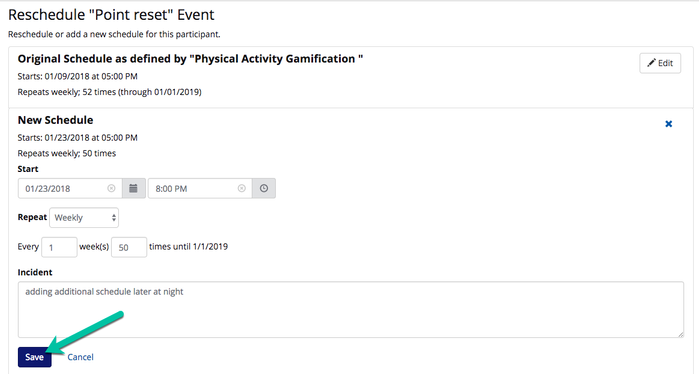
- You should now see the original schedule as well as the additional schedule added to the Events Overview page.
You can now keep track of changes made to a participant's event schedule in event details:
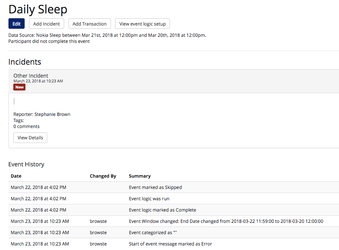
Note: If you change the event schedule at the Arm Level, those participants with modified schedules will not be updated to match the new arm schedule.
![]() Congratulations- your participant now has their own customized event schedule!
Congratulations- your participant now has their own customized event schedule!
, multiple selections available,